Print Master Files of Sample Data
The tutorial uses Sample Data that came with Derek. The Sample Data Files are normally (unless you changed it) installed in the C:\DEREK\DEDATA directory. In its original state, when you install Derek and open the program for the first time, it defaults to open in this Sample Data directory (You can verify the data directory you are currently in by locating it at the top left of your screen). However, if you have already installed your Real Data, be sure you are using the Sample Data and not your Real Data for this Tutorial. If you need to change to the Sample Data, see Change Data Directory. Your current data directory is always listed at the very top left of the screen.
Select File Maintenance - Company Heading File
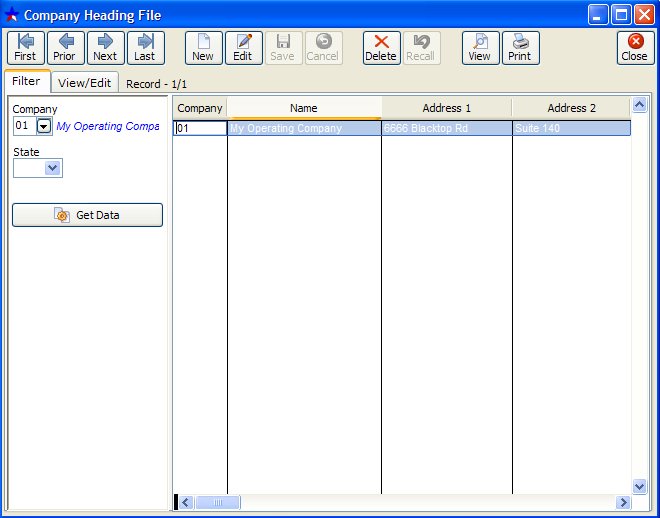
If all Filter conditions are left blank, then ALL records will be displayed. If you enter something for one of the Filters then only records that contain that Filter condition will be displayed. For example, if you enter "TX" for state, then only records with a State = "TX" will be displayed.
Notice that in the Sample Data there are 3 companies entered. We will be using Company Number 01 - My Operating Company - for our tutorial exercise.
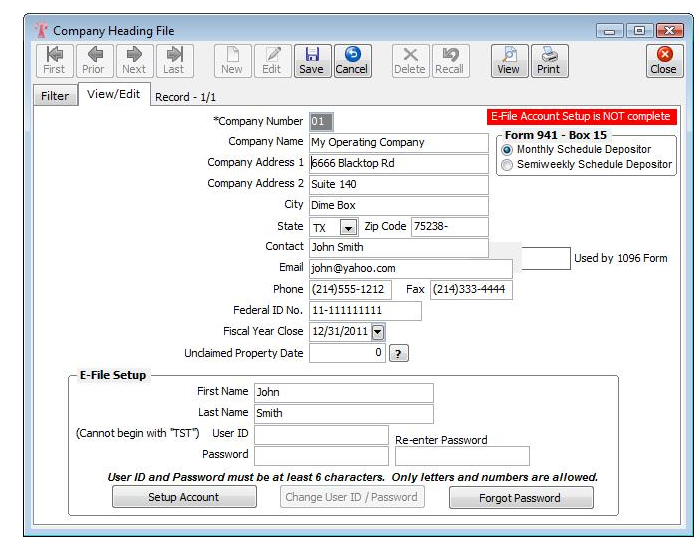
The View/Edit tab displays one record at a time in a Full Screen Layout.
VIEW/EDIT TAB
You can print a report from either Screen, Browse or View/Edit. However, the Filter Conditions are crucial as to what records are printed. To print a list of ALL companies, make sure the Filters are ALL blank, then click the Print Button.
Select File Maintenance - Company Chart of Accounts

TO PRINT REPORT FOR COMPANY 01.
Set Company Number to 01, Click Get Data, then Click on your Print button. In the next popup, be sure to check Show Zero Balance Accounts. Otherwise, nothing will appear in the report, because all the original Sample Data has a Zero Balance.
MORE ON FILTERS: Prior to printing each report, you need to complete the filter for the report. Set the Company Number to 01, and click on the Get Data button. When you enter values into a filter, only records that meet those conditions are accessed, i.e. listed in the report. For example, if you enter 01 for Company then only records for Company 01 are listed.
Note: In order to get all records of a file, the Filter conditions must be blank, otherwise it will only list records that were contained in the previous filter.
PRINT ALL OF YOUR FILE MAINTENANCE FILES FOR COMPANY 01:
So you can see the data we will be using during the Tutorial, go to File Maintenance and print a list of your Master Files for:
❷ Company Headings
❸ Owner/Customer
❹ Vendor
❺ Unit/Wells
❻ Division of Interest
❼ Company Chart of Accounts
❽ Unit Chart of Accounts
All the Print routines for the File Maintenance files work in the same way.
Created with the Personal Edition of HelpNDoc: Easy EPub and documentation editor


